
| ☰ See All Chapters |
Puppeteer Example Using Typescript
Puppeteer automation is easy with TypeScript over JavaScript. TypeScript is an object oriented programming language using this you can write the puppeteer test scripts and organize with modules. If you are new to TypeScript and like to learn TypeScript then please read our TypeScript Tutorial. Follow the below steps to create puppeteer example using TypeScript.
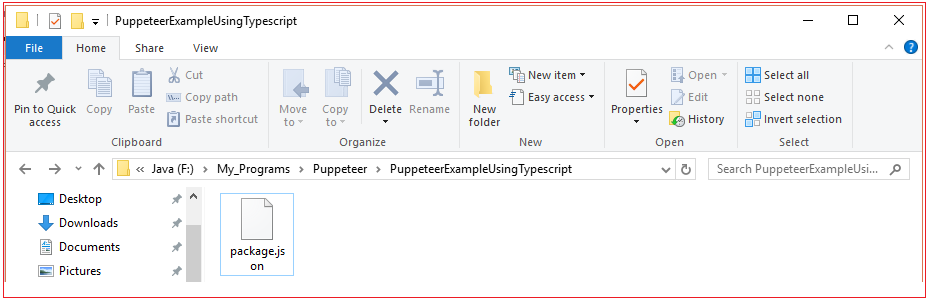
1. Create a root directory PuppeteerExampleUsingTypescript
2. Create package.json file and add below code inside
{ "name": "puppeteer-example-using-typescript", "version": "1.0.0", "description": "Puppeteer Example Using Typescript", "main": "index.js", "scripts": { "build": "tsc --outDir dist", "test": "tsc --outDir dist && cd dist && node example.js" }, "author": "Manu Manjunatha", "dependencies": { "puppeteer": "^1.17.0" }, "devDependencies": { "@types/chai": "^4.1.7", "@types/mocha": "^5.2.7", "@types/node": "^12.0.8", "@types/puppeteer": "^1.12.4", "chai": "^4.2.0", "copyfiles": "^2.1.0", "it-each": "^0.4.0", "mocha": "^6.1.4", "mochawesome": "^4.0.0", "pre-commit": "latest", "puppeteer-debug": "^1.0.1", "rimraf": "^2.6.3", "ts-node": "^8.2.0", "tslint": "^5.17.0", "tslint-config-airbnb": "^5.11.1", "typescript": "^3.5.1" } } |
3. Execute npm install from command prompt

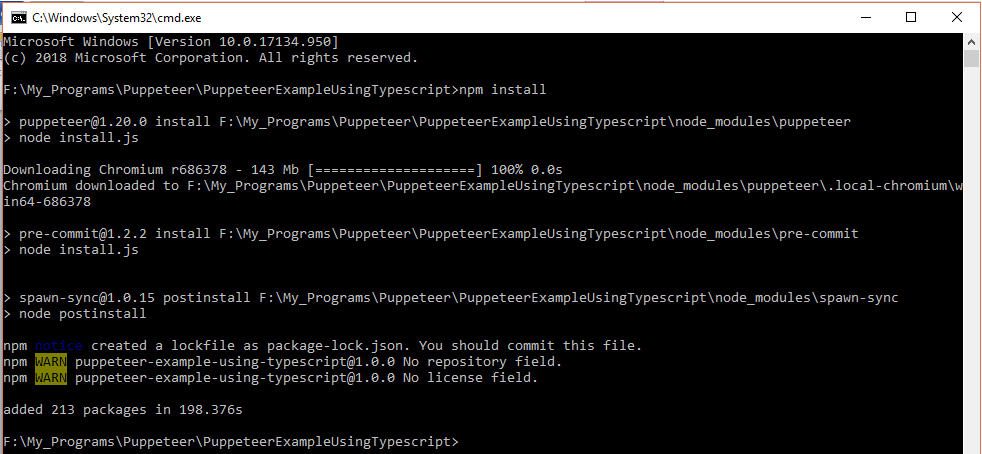
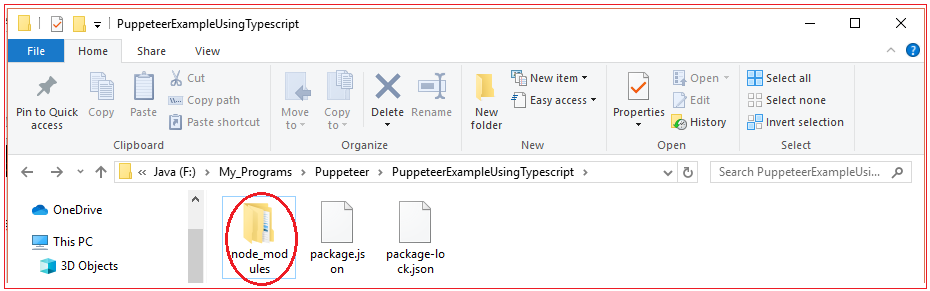
When execution is completed you should see node_modules created inside PuppeteerExampleUsingTypescript directory
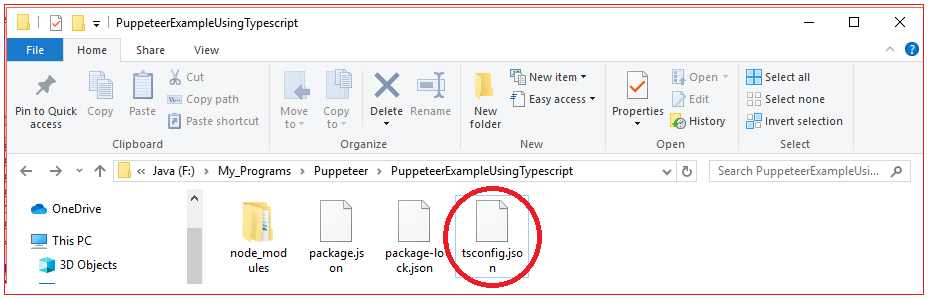
4. Create tsconfig.json file and add below code inside
{ "compilerOptions": { "module": "commonjs", "noImplicitAny": false, "sourceMap": true, "removeComments": true, "preserveConstEnums": true, "declaration": true, "target": "es5", "lib": ["es2015", "dom"], "outDir": "./dist", "noUnusedLocals": true, "noImplicitReturns": true, "noImplicitThis": true, "noUnusedParameters": false, "pretty": true, "noFallthroughCasesInSwitch": true, "allowUnreachableCode": false }, "include": [ "src", "node_modules/puppeteer-tsd/src/index.d.ts" ] } |
5. Create src directory and create example.ts file inside src directory. Add below code inside example.ts file.

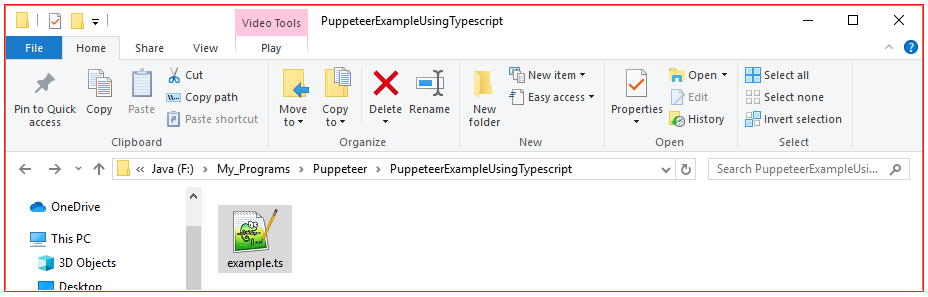
example.ts
import * as puppeteer from 'puppeteer';
async function example() { const browser = await puppeteer.launch(); const page = await browser.newPage(); await page.setViewport({ width: 1366, height: 768}); await page.goto('https://tools4testing.com/'); await page.screenshot({ path: 'example.png' });
await browser.close(); }
example(); |
6. Navigate back to root directory PuppeteerExampleUsingTypescript Execute npm run test from command prompt

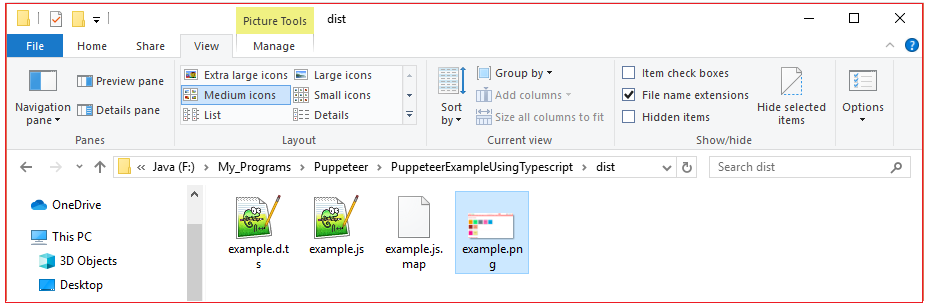
8. Now you should see dist directory created inside PuppeteerExampleUsingTypescript. Navigate inside dist directory; you should see the example.png, screenshot of www.tools4testing.com
All Chapters
