
| ☰ See All Chapters |
Selenium WebDriver Java Example in Eclipse
In this tutorial you will learn to create selenium automation example using selenium WebDriver. Our steps are so easy and simple that you no need to have any prior knowledge on java and selenium. From next chapter onward it is very essential to have knowledge on JAVA language. Please read and learn java language before you go to next chapter. Refer our java tutorial from here https://www.java4coding.com/. For java selenium automation tester, java knowledge is must and should be expert in Java.
In this example, you we will automate the following steps:
Launch Google Chrome browser.
Click on Login button
Enter username and password.
Click on Login button
To automate these steps we have already created our username and password. For you to test, please register and ready with your username and password.
Step 1: Create Java Project in eclipse
Open Eclipse IDE and create new java project "SeleniumExample". To learn to setup eclipse and to create project, please refer our previous chapter.

Step 2: Download Selenium WebDriver Java libraries (Client and WebDriver Language Bindings)
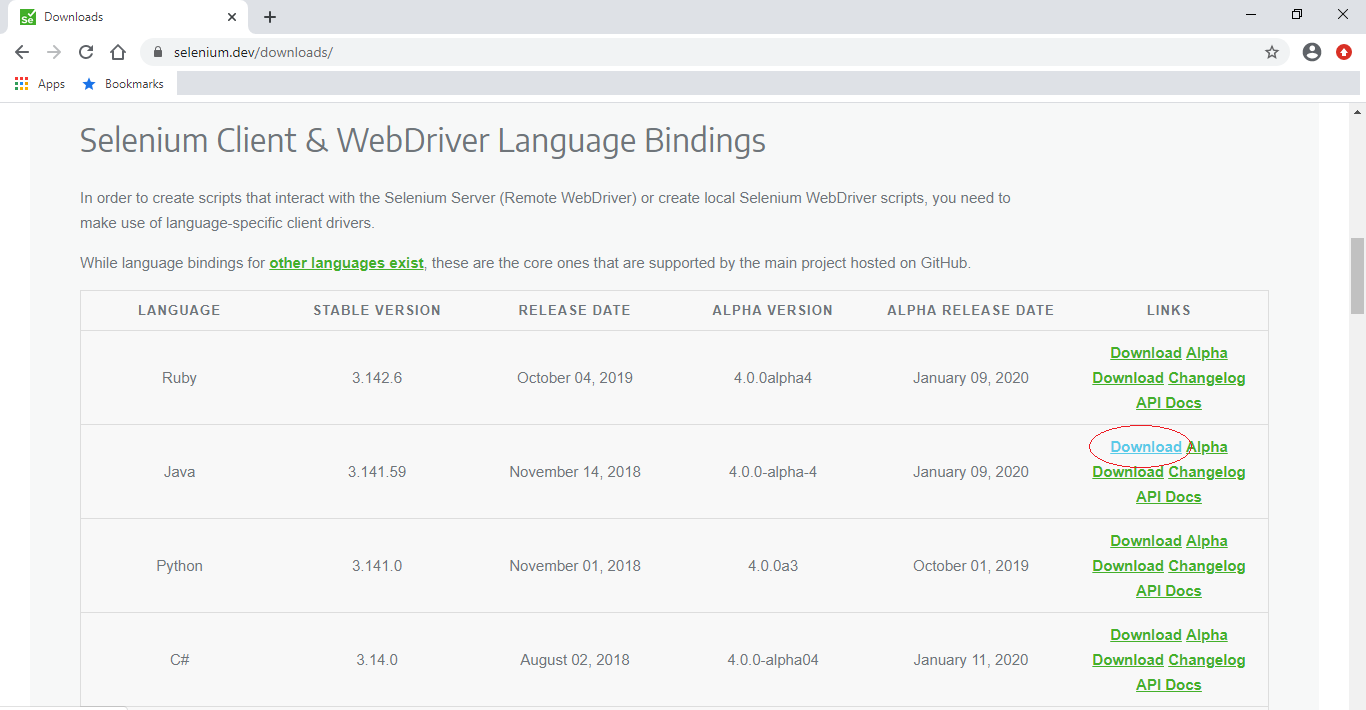
Open URL: https://docs.seleniumhq.org/download/
Click on the "Download" link of Java Client Driver as shown in the image given below.
Step 3: Configure Selenium WebDriver Java libraries (Client and WebDriver Language Bindings) to eclipse project.
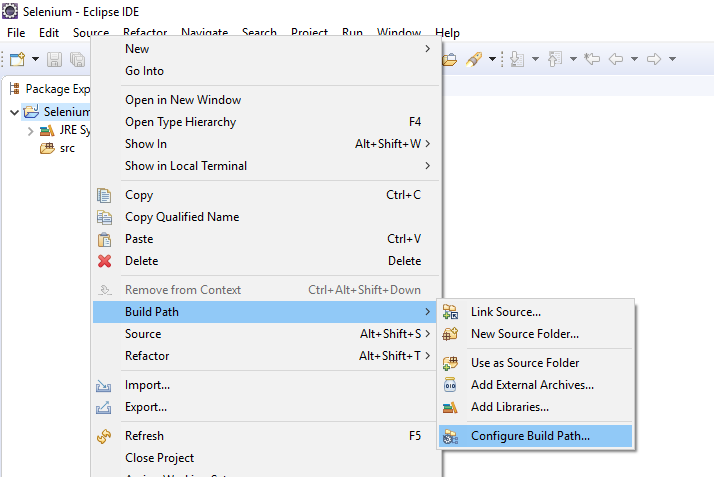
Right click on "SeleniumExample" project and select Build Path> Configure Build Path.
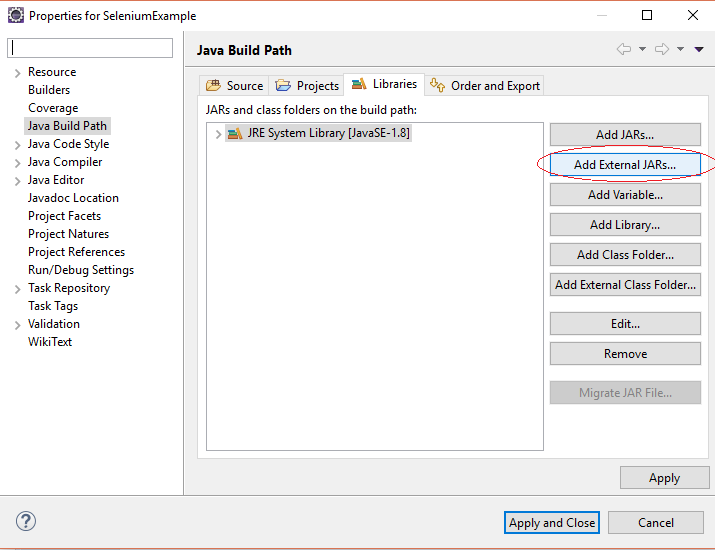
Switch to Libraries tab and click on "Add External JARs" button.
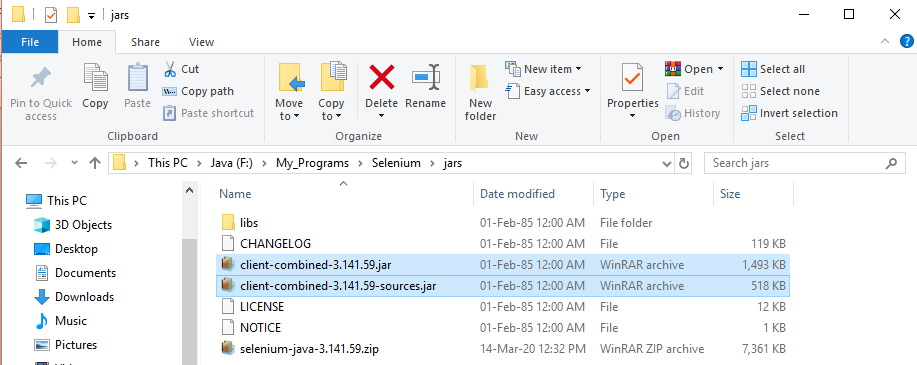
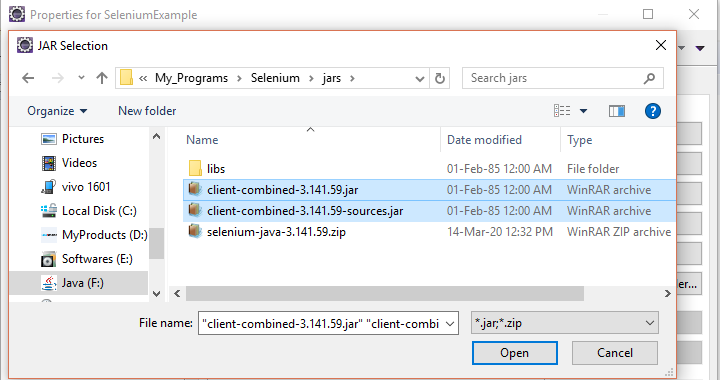
Navigate to the directory where you have downloaded the Selenium jar files, select the client-combined-3.141.59.jar, client-combined-3.141.59-sources.jar and click on "Open" button.
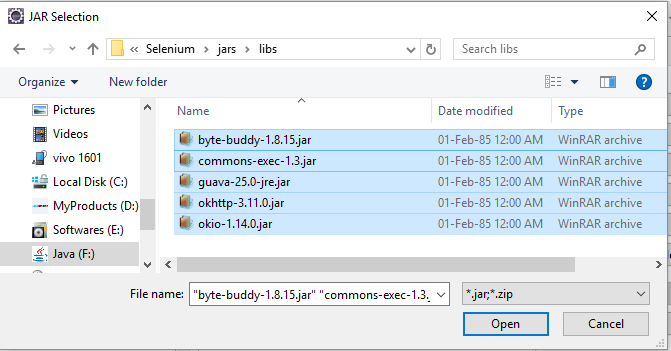
Repeat the same steps for the jar files which are present under the "libs" folder.
After you add all the Selenium jar files in your Libraries tab, click on Apply and Close button.
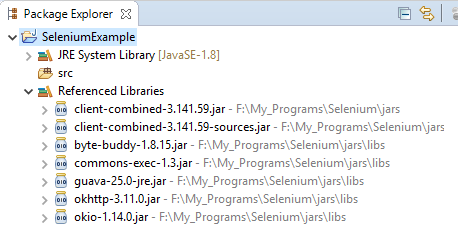
Now expand the Referenced Libraries from the project and check if all jars are added.
Step 4: Install WebDriver
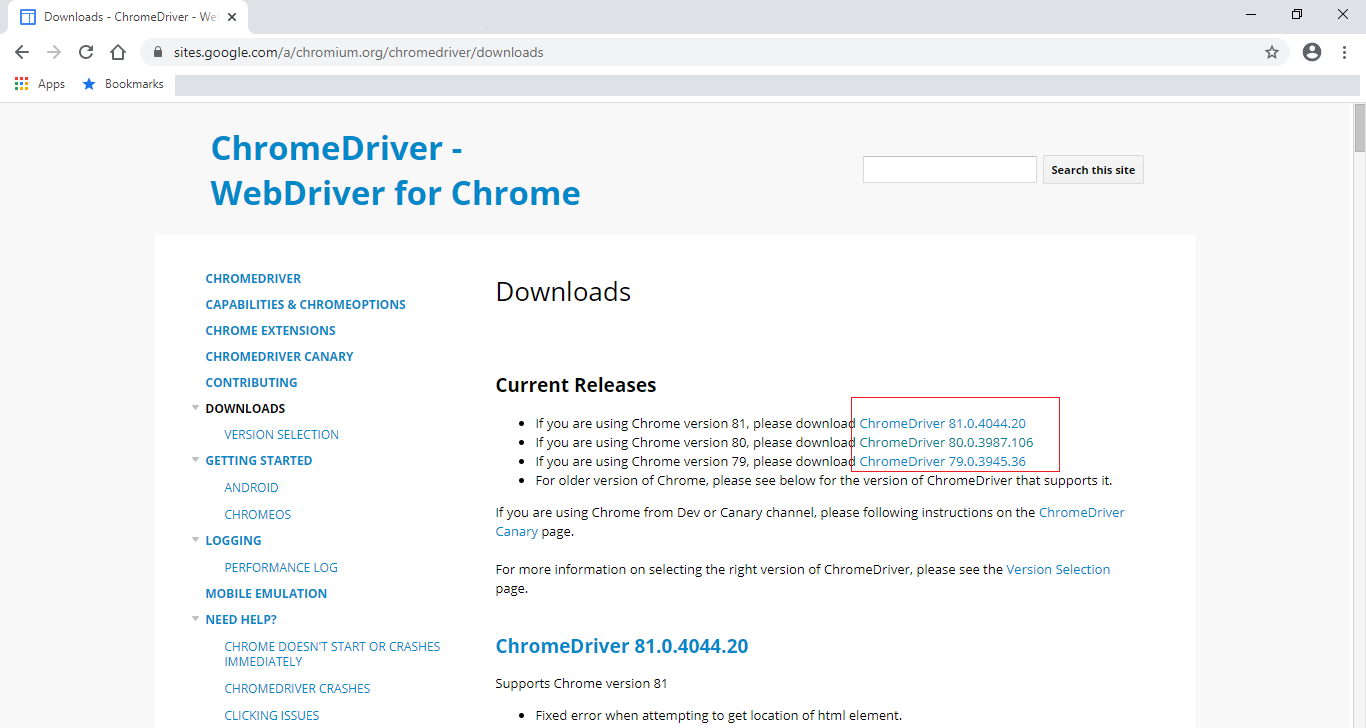
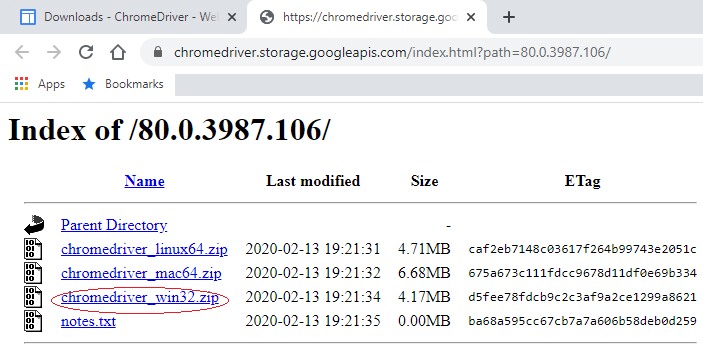
Download ChromeDriver from URL: https://sites.google.com/a/chromium.org/chromedriver/downloads
Based on your chrome browser version select the ChromeDriver version
Based on your operating system, download the ChromeDriver, We have selected for Windows OS.
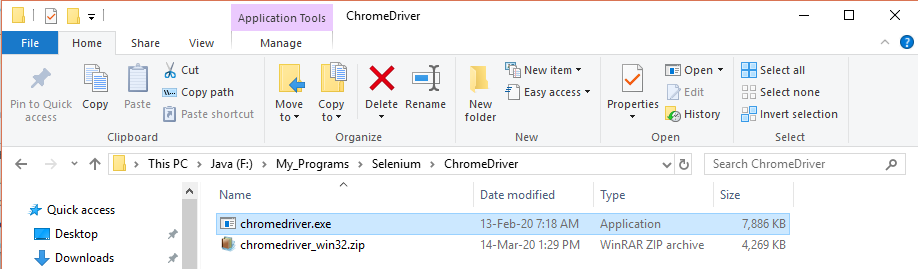
Please make note of this chromedriver.exe file path which we will use in our java code. Now our path is
F:\My_Programs\Selenium\ChromeDriver\chromedriver.exe |
Step 5: Create the automation script (Code)
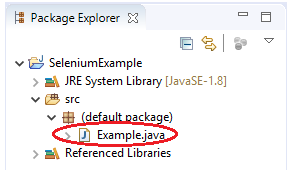
Create the java class with the name “Example” and add the below code to it. Please refer to our previous chapter. We have added comments in the code to explain the steps clearly.
public class Test { import org.openqa.selenium.By; import org.openqa.selenium.WebDriver; import org.openqa.selenium.chrome.ChromeDriver;
public class Example {
public static void main(String[] args) {
// configure chromedriver System.setProperty("webdriver.chrome.driver", "F:\\My_Programs\\Selenium\\ChromeDriver\\chromedriver.exe");
WebDriver driver = new ChromeDriver();
// Launch website driver.get("https://www.registration.tools4testing.com/");
// Click on the Login Button driver.findElement(By.id("loginopener")).click();
// Focus on the dialog window by click on dialog window tittle driver.findElement(By.xpath("//*[@id=\"ui-id-1\"]")).click();
// Enter user name driver.findElement(By.id("loginUsername")).sendKeys("manu.m@tools4testing.com");
// Enter user password driver.findElement(By.id("loginPassword")).sendKeys("hello");
// Click on the Login Button driver.findElement(By.id("loginButton")).click();
//wait some time to get login response try { Thread.sleep(5000); } catch (InterruptedException ie) { }
//close the driver driver.quit(); } } |
Step 6: Execute/Run the program
Right click on the Eclipse code and select Run As > Java Application.
All Chapters
